Create basic Provider-Hosted Add-in

Open Visual Studio 2019. Click on Create a new project.

Search and select SharePoint Add-in project type. Once done, click Next.

Enter the required details. Click Next once done.

Enter the URL of the Developer Site and select Provider Hosted Add-in. Click Create once done.

Choose Web Project type. Click Next once done.

Enter the Target SharePoint Version. I am creating this for SharePoint Online, hence choosing the same. Click Next once done.

Specify the Authentication settings. Click Finish once done.

Once your Add-in is created, it will automatically open in Visual Studio. Press F5 to run the add-in and test it.


Provider-Hosted Add-in Environment Setup – VS 2019

Install  Visual Studio 2019 Community Edition. It is free and you can use it for practice purpose.

Sign up for an Office 365 developer subscription through Office 365 Developer Program

Create a Developer Site if you don’t have one.

You are now ready to create your SharePoint Add-ins

Create Developer Site using new Admin Center

Go to the new Admin Center by using this URL: https://<your domain>-admin.sharepoint.com/_layouts/15/online/AdminHome.aspx

Click on Sites -> Active Sites -> Create.

Scroll down and click on Other Options

Click on More Templates from Choose a template drop down

Entered the required details. Select Developer Site Template

You can see the details of your newly created Developer Site in Active Site section of SharePoint Admin Center

Email ID Validation in Power Apps

Enter a Text Input control in which you want to enter the Email ID. Rename this control as txtEmail.

In this validation, if email is not in correct format, it will display in Red color otherwise in Black color. This will change color on mouse hover.

Select txtEmail control. Change the value of it’s Color property.

IsMatch function matches whether  a text string matches a pattern that can comprise ordinary characters, predefined patterns or a regular expression.

The second parameter of IsMatch function defines the pattern to match like Digit, Email, Hyphen, Letter etc.

Detail Screen in Power App

In Create Power Apps for SharePoint List, I have explained the Detail Screen in brief. Let’s explore it more.

  • This screen will show complete details of the item selected from the Browse Screen.
  • You can Edit or Delete the item from this page as well.
  • Note that in Browse Screen, we are able to see data from 3 fields, but in Detail Screen, you will be able to see all the data.
  • In the below screen, you can see Delete and Edit icons at top right corner of the screen and Back icon at top left corner of the screen.
  • When you click on Delete icon, the item will be deleted from the list and you will be redirected to Browse Screen.
  • When you click on Edit icon, you will be redirected to Edit Screen where you can Edit the item.
  • When you click on Back icon, you will be redirected to Browse Screen.
  • Items property of DetailForm is BrowseGallery1.Selected. That means, it will show the details of the item that is selected from BrowseGallery1 present in Browse Screen.
  • DataSource should be your actual data source from where you are getting the data like SharePoint List Name

This Detail Screen is divided into Data Cards which are locked and cannot be edited. THE MOST IMPORTANT thing to note here is that if you want to change the properties of these cards like Data Field, Display Name, Required, Default Value etc., you need to unlock them. Once you unlock them, you cannot lock them back. Double click on Unlock to change properties to unlock the card and change it’s properties.

Below is the list of properties that you can modify if the card is locked in Detail Screen:

Other Related Posts

Browse Screen

CRUD operations using REST API in SPFx with No JavaScript Framework

In this article, I will be giving you the code to write CRUD operations using REST API in SharePoint Framework Web Part using No JavaScript Framework.

I have a SharePoint List names Registration Details which has 4 columns Full Name (internal name is Title), Address, Email ID (internal name EmailID) and Mobile.

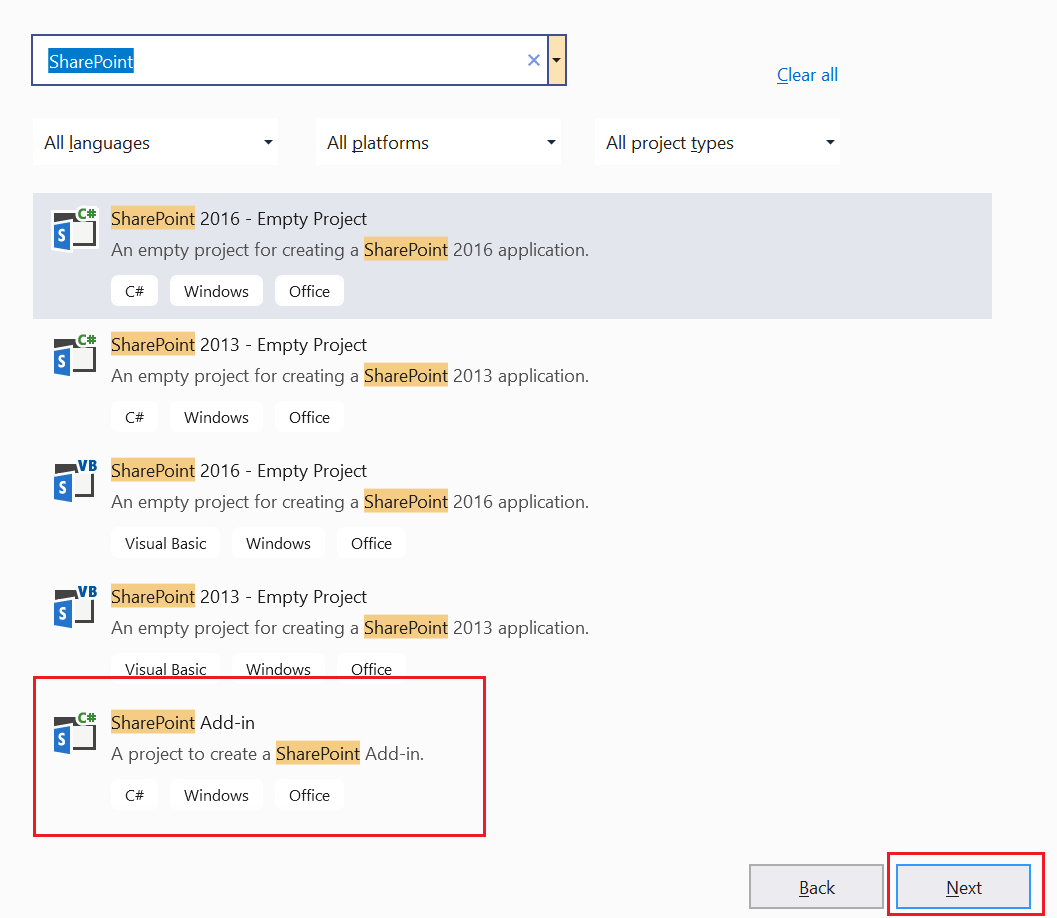
Create a SPFx web part and choose No JavaScript Framework at the end. Below is the file structure of the web part.

Open RestApiDemoWebPart.ts file. Make the changes in this file as per below code:

import { Version } from '@microsoft/sp-core-library';
import { BaseClientSideWebPart, IPropertyPaneConfiguration, PropertyPaneTextField } from '@microsoft/sp-webpart-base';
import { escape } from '@microsoft/sp-lodash-subset';
import styles from './RestApiDemoWebPart.module.scss';
import * as strings from 'RestApiDemoWebPartStrings';
import { SPHttpClient, SPHttpClientResponse } from '@microsoft/sp-http';

export interface IRestApiDemoWebPartProps {
description: string;
}

interface IRegistrationDetails {
Title: string;
Address: string;
Mobile: number;
EmailID: string;
}

export default class RestApiDemoWebPart extends BaseClientSideWebPart<IRestApiDemoWebPartProps> {
private Listname: string = "Registration Details";
private listItemId: number = 0;
public render(): void {
this.domElement.innerHTML = `
<div>
<table>
<tr>
<td>Full Name</td>
<td><input type="text" id="idFullName" name="fullName" placeholder="Full Name.."></td>
</tr>
<tr>
<td>Address</td>
<td><input type="text" id="idAddress" name="address" placeholder="Address.."></td>
</tr>
<tr>
<td>Mobile Number</td>
<td><input type="text" id="idPhoneNumber" name="mobile" placeholder="Mobile Number.."></td>
</tr>
<tr>
<td>Email ID</td>
<td><input type="text" id="idEmailId" name="emailid" placeholder="Email ID.."></td>
</tr>
</table>
<table>
<tr>
<td><button class="${styles.button} find-Button">Find</button></td>
<td><button class="${styles.button} create-Button">Create</button></td>
<td><button class="${styles.button} update-Button">Update</button></td>
<td><button class="${styles.button} delete-Button">Delete</button></td>
<td><button class="${styles.button} clear-Button">Clear</button></td>
</tr>
</table>
<div id="tblRegistrationDetails"></div>
</div>
`;
this.setButtonsEventHandlers();
this.getListData();
}

private setButtonsEventHandlers(): void {
const webPart: RestApiDemoWebPart = this;
this.domElement.querySelector('button.find-Button').addEventListener('click', () => { webPart.find(); });
this.domElement.querySelector('button.create-Button').addEventListener('click', () => { webPart.save(); });
this.domElement.querySelector('button.update-Button').addEventListener('click', () => { webPart.update(); });
this.domElement.querySelector('button.delete-Button').addEventListener('click', () => { webPart.delete(); });
this.domElement.querySelector('button.clear-Button').addEventListener('click', () => { webPart.clear(); });
}

private find(): void {
let emailId = prompt("Enter the Email ID");
this.context.spHttpClient.get(`${this.context.pageContext.web.absoluteUrl}/_api/web/lists/getbytitle('${this.Listname}')/items?$select=*&$filter=EmailID eq '${emailId}'`, SPHttpClient.configurations.v1)
.then(response => {
return response.json()
.then((item: any): void => {
document.getElementById('idFullName')["value"] = item.value[0].Title;
document.getElementById('idAddress')["value"] = item.value[0].Address;
document.getElementById('idEmailId')["value"] = item.value[0].EmailID;
document.getElementById('idPhoneNumber')["value"] = item.value[0].Mobile;
this.listItemId = item.value[0].Id;
});
});
}

private getListData() {
let html: string = '<table border=1 width=100% style="border-collapse: collapse;">';
html += '
<th>Full Name</th>
<th>Address</th>
<th>Email ID</th>
<th>Phone Number</th>
';
this.context.spHttpClient.get(`${this.context.pageContext.web.absoluteUrl}/_api/web/lists/getbytitle('${this.Listname}')/items`, SPHttpClient.configurations.v1)
.then(response => {
return response.json()
.then((items: any): void => {
console.log('items.value: ', items.value);
let listItems: IRegistrationDetails[] = items.value;
console.log('list items: ', listItems);

listItems.forEach((item: IRegistrationDetails) => {
html += `
<tr>
<td>${item.Title}</td>
<td>${item.Address}</td>
<td>${item.EmailID}</td>
<td>${item.Mobile}</td>
</tr>
`;
});
html += '</table>
';
const listContainer: Element = this.domElement.querySelector('#tblRegistrationDetails');
listContainer.innerHTML = html;
});
});
}

private save(): void {
const body: string = JSON.stringify({
'Title': document.getElementById('idFullName')["value"],
'Address': document.getElementById('idAddress')["value"],
'EmailID': document.getElementById('idEmailId')["value"],
'Mobile': document.getElementById('idPhoneNumber')["value"],
});

this.context.spHttpClient.post(`${this.context.pageContext.web.absoluteUrl}/_api/web/lists/getbytitle('${this.Listname}')/items`,
SPHttpClient.configurations.v1,
{
headers: {
'Accept': 'application/json;odata=nometadata',
'X-HTTP-Method': 'POST'
},
body: body
}).then((response: SPHttpClientResponse): void => {
this.getListData();
this.clear();
alert('Item has been successfully Saved ');
}, (error: any): void => {
alert(`${error}`);
});
}

private update(): void {
const body: string = JSON.stringify({
'Title': document.getElementById('idFullName')["value"],
'Address': document.getElementById('idAddress')["value"],
'EmailID': document.getElementById('idEmailId')["value"],
'Mobile': document.getElementById('idPhoneNumber')["value"],
});

this.context.spHttpClient.post(`${this.context.pageContext.web.absoluteUrl}/_api/web/lists/getbytitle('${this.Listname}')/items(${this.listItemId})`,
SPHttpClient.configurations.v1,
{
headers: {
'Accept': 'application/json;odata=nometadata',
'IF-MATCH': '*',
'X-HTTP-Method': 'PATCH'
},
body: body
}).then((response: SPHttpClientResponse): void => {
this.getListData();
this.clear();
alert(`Item successfully updated`);
}, (error: any): void => {
alert(`${error}`);
});
}

private delete(): void {
if (!window.confirm('Are you sure you want to delete the latest item?')) {
return;
}

this.context.spHttpClient.post(`${this.context.pageContext.web.absoluteUrl}/_api/web/lists/getbytitle('${this.Listname}')/items(${this.listItemId})`,
SPHttpClient.configurations.v1,
{
headers: {
'Accept': 'application/json;odata=nometadata',
'IF-MATCH': '*',
'X-HTTP-Method': 'DELETE'
}
}).then((response: SPHttpClientResponse): void => {
alert(`Item successfully Deleted`);
this.getListData();
this.clear();
}, (error: any): void => {
alert(`${error}`);
});
}

private clear(): void {
document.getElementById('idFullName')["value"] = "";
document.getElementById('idAddress')["value"] = "";
document.getElementById('idEmailId')["value"] = "";
document.getElementById('idPhoneNumber')["value"] = "";
}

protected get dataVersion(): Version {
return Version.parse('1.0');
}

protected getPropertyPaneConfiguration(): IPropertyPaneConfiguration {
return {
pages: [
{
header: {
description: strings.PropertyPaneDescription
},
groups: [
{
groupName: strings.BasicGroupName,
groupFields: [
PropertyPaneTextField('description', {
label: strings.DescriptionFieldLabel
})
]
}
]
}
]
};
}
}

Region Pairs

Region Pairs ensures Business Continuity and Disaster Recovery. It is possible that a disaster can cause an outage and affect more than one datacenters. That is the reason Azure has created Region Pairs. Each Azure region is paired with another region within the same geography at least 300 miles away. They together make a region pair. The only exception is Brazil South which is paired with a region outside its geography. It is paired with South Central US.

There are few things that we need to take care in case of Region Pair:

  • Azure prefers at least 300 miles distance between datacenters in a regional pair. This might not be possible in all geographies. Physical datacenter separation reduces impact of natural disasters, civil unrest, power outage or physical network outage affecting both  regions at once.
  • Some services like Geo-Redundant Storage provide automatic replication to the paired region.
  • In the event of outage in both the regions, recovery of one region is prioritized out of every pair.
  • Planned Azure system updates are rolled out to paired regions sequentially and not parallelly. This is to minimize the downtime, avoid bugs etc. in case of any update issue.
  • This ensures High Availability of the application.

Data Centers in Azure

Microsoft Azure Data Centers are the physical side of Azure cloud computing.

  • A data center is a physical facility that stores computing equipment. It can be a single building or a collection of buildings.
  • As of now, these data centers exist in 140 countries around the globe and are still expanding.
  • Physical Security is an important aspect as Azure has a centralized location physically that stores lot of sensitive data for various customers.
  • Due to the security reasons, the actual location of these data centers are not disclosed.
  • All the buildings are HVAC that is heating, ventilation, air conditioning.  This helps in keeping hot air away from the equipment and have cool air inside the facility from the outside.
  • Another thing that we need to consider is the number of equipment racks that will exist within a data center. Its generally a large number as almost everything, like physical computing device, is an appliance that can be racked.
    • It can be hypervisor server that is used host virtual machines running in the Azure cloud environment.
    • It can be the storage arrays that Azure customers enjoy when it comes to provisioning cloud storage.
    • It can be physical routers and switches that provide network connectivity.
    • It can be UPSs that provide continuous power supplies that is used for short-term battery power for a device to shut down properly when it detects that the power from power grid is no longer there.
    • Power Generators are used for long-term power supplies that runs using fuel like diesel.
  • Azure Data centers can be surrounded by fencing along with both interior and exterior alarm system often in the form of motion detection sensors.
  • There are physical guards on premises to check badges of the person while entering or existing the data center premises.
  • Mantrap doors work in such a way that after access to an outer door is granted and door opens, there is an area within the door that the person must wait before they can enter a second inner door. The outer door has to close first. These doors are locked, controlled and access is granted through a proximity card.
  • All entry and exit points in the facility are logged centrally.
  • Thorough background checks are performed on all employees especially those that work in Azure data centers.
  • Within the data centers, specific rooms that contain specific type of equipment like storage arrays, might be in a locked area that requires additional access.
  • There are locked equipment racks as well so that in order to gain access  physically to a device, whether it is a rack-mount server, router or a storage array, access must be granted to the rack itself.

All of this together provides a secure physical environment for an Azure data center.

Refresh Power App Data Source

Whenever you make any changes in the SharePoint List, the changes will not automatically appear in the Power App. You need to refresh the Data Source to reflect the changes. Below are the steps to do that same:

  • Go to View tab
  • Click on Data Source
  • Click on three ellipses () of the Data Source that you want to refresh
  • Click on Refresh

Power Platform Academy

Start or Upgrade your Career with Power Platform

Learn with Akanksha

Python | Azure | AI/ML | OpenAI | MLOps