Here is the link to start creating your SharePoint-Hosted Add-in. We will create list template and instance through this link.
Here are the steps to create Site Columns. Follow the steps till creation of Site columns. DO NOT add the Site Columns directly to list.
Below are the steps to create Content Type, add Site Columns to this Content Type and attach this Content Type to the list template.
It is always a best practice to create folders in the solution and keep the similar files together.
Right click on the Project Name in Solution Explorer and add a New Folder. Name it as Content Types.
Right click on Content Types folder, Add –> New Item –> Content Type. Name it as CountryStatesCT.

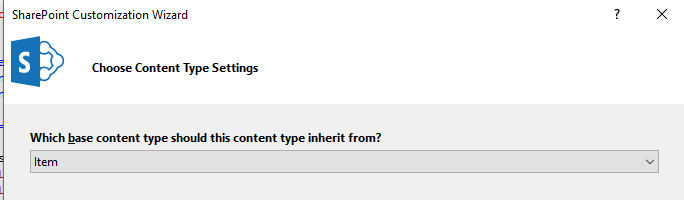
Choose base content type as Click Finish.
CountryStatesCT Designer should open. Add the site columns.

Make the changes to the Name, Description and Group name of the Content type. Clear all the check boxes if required.

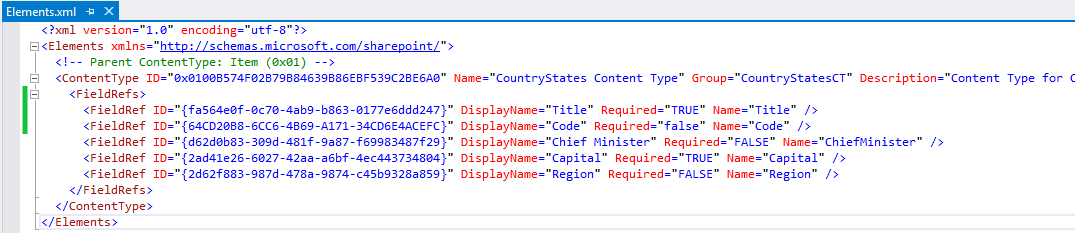
Open Elements.xml of your content type and add following xml:
<FieldRef ID="{fa564e0f-0c70-4ab9-b863-0177e6ddd247}" DisplayName="Title" Required="TRUE" Name="Title" />
<FieldRef ID="{64CD20B8-6CC6-4B69-A171-34CD6E4ACEFC}" DisplayName="Code" Required="false" Name="Code" />
It should look like below:
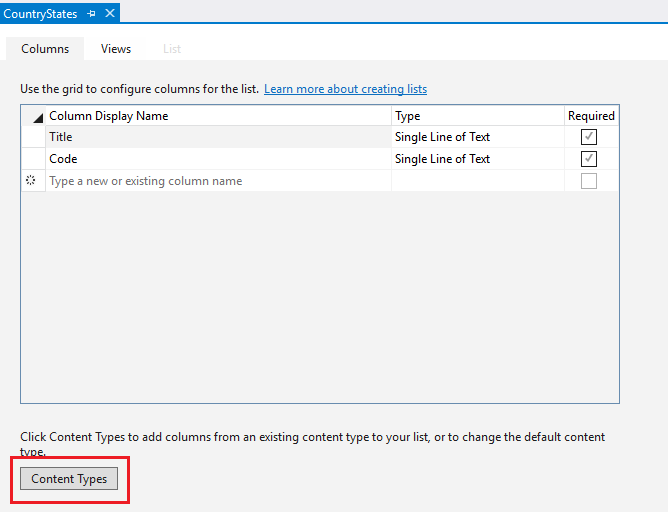
Let’s add this Content Type to our list template. Open designer view of CountryStates List Template. Click on Content Type button at the bottom.
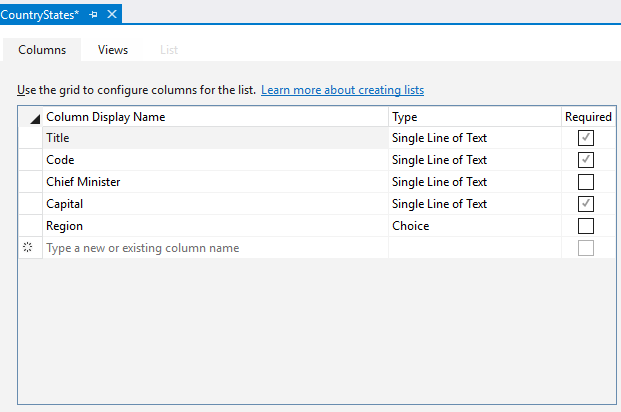
Select CountryStates Content Type and make it as the default content type by selecting it and click on Set as Default.

After this, you will see all the Site Columns listed in the column list of List Template.
Verify the schema.xml

Press F5 to test the add-in.

Here are the steps to Deploy and Install the SharePoint-Hosted Add-in.
